Product Number: DRLSH


Scania NGS Conversion Kit Halogen Headlights Cold White to Orange DRL Light 2016+
Product Number: DRLSH
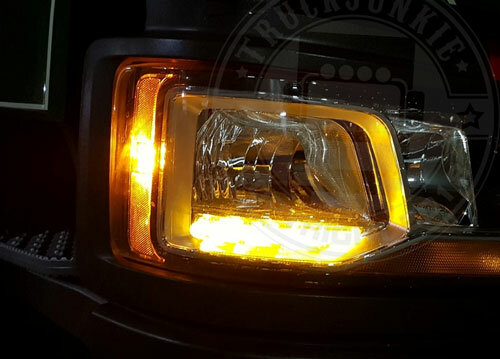
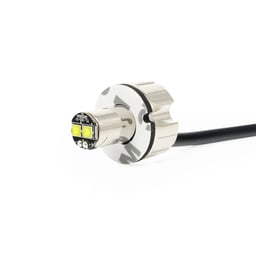
The Scania NGS Conversion Kit is designed for halogen headlights of models from 2016 onwards. This kit replaces the cold white DRL light with an orange variant. Features include easy installation and compatibility with existing systems. Benefits are improved visibility and a unique appearance. The kit is compact and fits seamlessly into the existing headlight housing.
Per piece(s), incl. VAT
1 to 3 working days
Snel en gemakkelijk in huis
Uniek assortiment, nergens anders verkrijgbaar
Niet goed? Geld terug binnen 30 dagen
9.2 / 10 op basis van +314 reviews
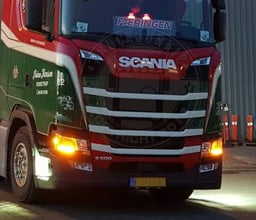
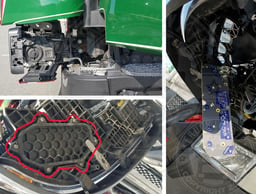
The Scania NGS Conversion Kit is specially designed for trucks with halogen headlights from model year 2016. With this kit, you can easily replace the cold white DRL light with a striking orange variant. The kit retains the original design and uses the same connectors, ensuring smooth installation.
Features:
- Suitable for Scania NGS with halogen headlights from 2016
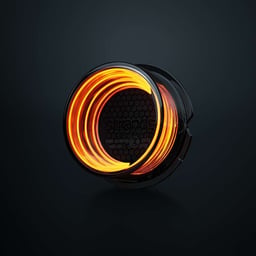
- Replaces cold white DRL light with orange light
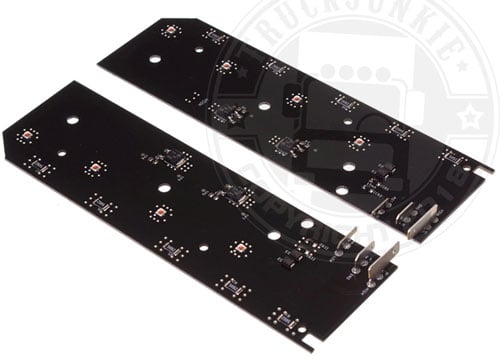
- Retains original design and connectors
- Equipped with 4 powerful CREE LEDs
- Plug and play installation
- Includes 2 sets (left and right)
- No e-marking
Benefits:
- Easy installation without modifications
- Improved visibility on the road
- Unique and striking appearance
- Fits seamlessly into the existing headlight housing
Dimensions and details:
The kit is compact and designed to fit perfectly into the existing headlight housing of your Scania NGS. Note that this set does not have an e-marking, which may be important for use on public roads.
Want to give your truck a unique look and improve visibility? Consider this conversion kit and experience the difference. Order today and give your Scania NGS a striking upgrade!
Sku: | DRLSH |
|---|---|
Ean/barcode: | 240850 |
Weight: | 85 |
Dimensions: | 1 x 18 |
✅ Wide range of products
⭐ High-quality products
🚚 Fast delivery
↩️ Easy returns
💬 Friendly customer service for all your questions
Use the FAQ to find the most frequently asked questions about this product.
Still can’t find what you’re looking for? Use the chat box at the bottom right to ask a question or send us an email.
Frequently Bought Together
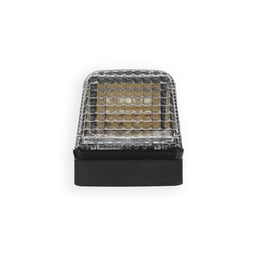
Tralert LED Top Lamp White
Strands FOR9T Geo LED Marker Light Orange

Strands FOR9T Geo LED Marker Light White
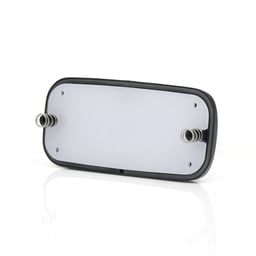
Diffuser For Talmu Lighting
LED Strobe Light for Flush Mount Xenon White
Talmu Daytime Running Light Clear Lens

Amber daytime running lights Scania NGS - Halogen
Sign up to receive a notification when this item is back in stock.